Overview
The automated contact creation feature, allowing users to effortlessly add contacts from business cards. Leveraging AI technology and QR code scanning, users can quickly capture contact information and seamlessly integrate it into their CloudOffix database.
Benefits:
•Efficiency: Simplify the contact creation process by eliminating manual data entry. With automatic capture and integration, users can save time and reduce administrative tasks.
•Accuracy: Ensure data accuracy with AI-powered contact creation. By leveraging advanced technology, the system accurately extracts and categorizes contact information, minimizing errors.
•Versatility: Whether through AI recognition or QR code scanning, users have multiple options for capturing contact details, providing flexibility to accommodate different scenarios and preferences.
How it works ?
There are two different ways to use Business Card Scan: AI and QR. If users do not purchase an AI package, they can create contacts in their db by scanning QR codes.
Warning : QR code scanning only supports QR codes created with Vcard standard.
- Go to Contacts app from Social Cloud.

- Click New button

- Click on the QR Code icon in the form that opens.
![]()
- If the AI package has been purchased, the Send to AI button appears. Additionally, you can also use QR scanning.
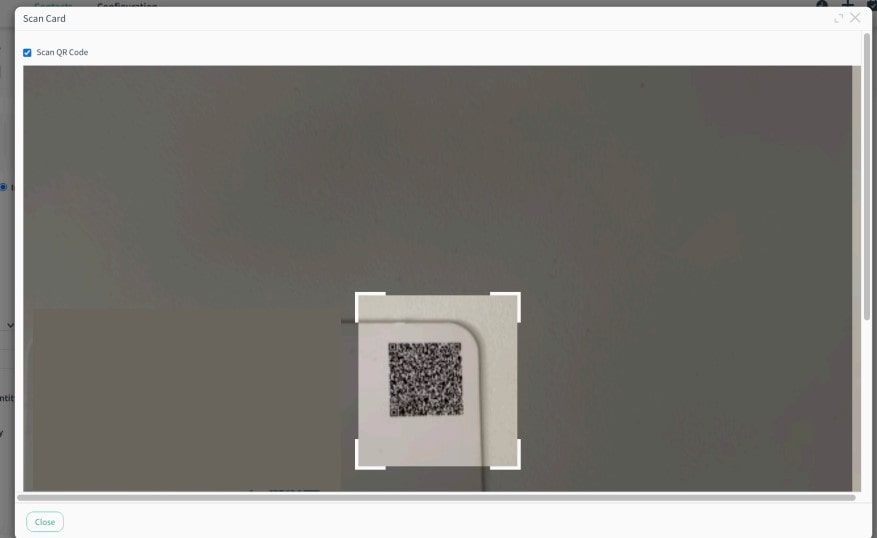
- If you are scanning a card with a QR code, check the Scan QR Code box. Next, select a camera and click the Start Scanning button.

- Align the relevant QR code to fit the guide and Ta-da!

- You can see that the relevant fields on the form are automatically filled with the information on the card.
- If you want to scan your business card via AI, just click the Scan QR Code box to unselect it.
- Then, select the right camera and fit the business card to the guide.
- Click the Submit to AI button.

Tip : Filled automatically when the form is in edit mode. Thus, if there is an incorrect field, the user is allowed to correct it without creating a contact.
- After you check the information about the contact, click Save button to create.
